How to Do Gel Nails at Home
Mastering the Basics, How to Do Gel Nails at Home
Want salon-perfect nails without leaving your house? Learning how to do gel nails at home is easier than you think. With the right tools and a little practice, you can achieve a professional finish that lasts for weeks. Follow this comprehensive guide for stunning results and confidence in your nail art skills.
What Are Gel Nails?
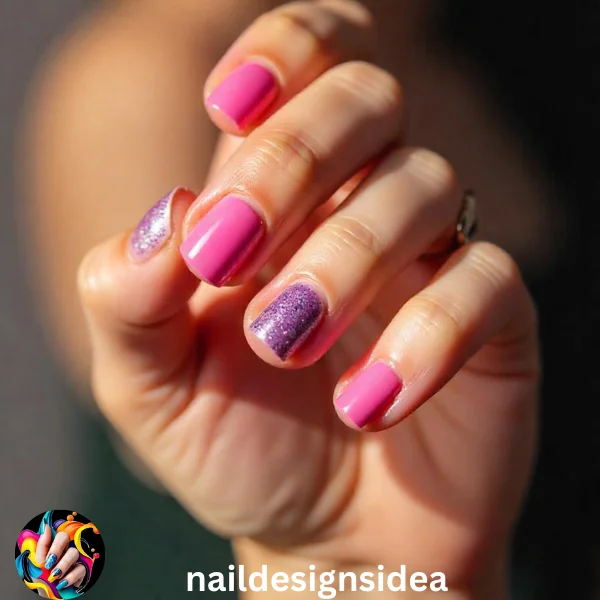
Gel nails are a popular option for long-lasting, chip-free manicures. They involve applying gel polish that hardens under UV or LED light. This technique provides a glossy, durable finish that looks freshly done for weeks. Unlike traditional nail polish, gel nails resist everyday wear and tear, making them perfect for busy individuals.
Why Try Gel Nails at Home?
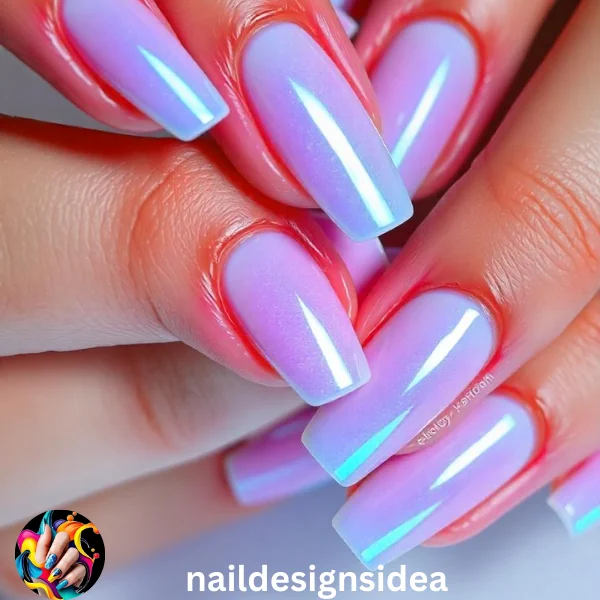
Doing gel nails at home saves money and time. Trips to the salon can add up, and learning this skill allows you to experiment with designs whenever inspiration strikes. You also have full control over the process, from the colors you choose to the techniques you use. Plus, it’s a fun and creative way to pamper yourself.
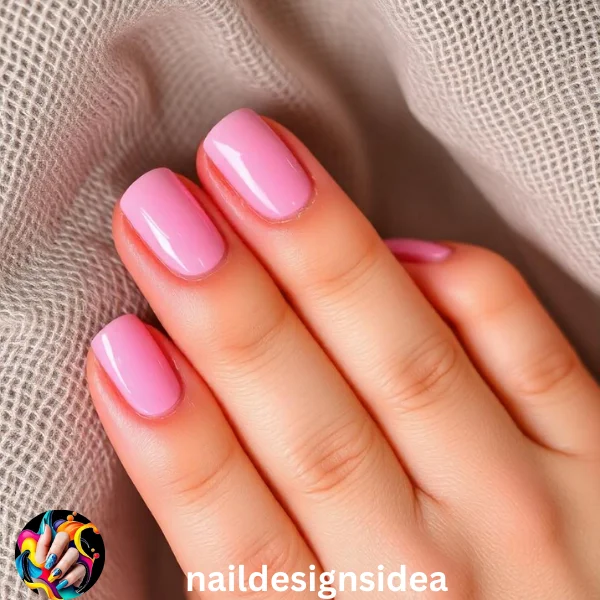
Essential Tools for Gel Nails
Before you begin, gather these supplies:
- Gel base coat and top coat: Essential for durability and shine.
- Gel polish in your favorite color: Choose shades that match your style or the season.
- Nail file and buffer: For shaping nails and smoothing the surface.
- Cuticle pusher: Keeps your nail bed clean and professional-looking.
- Isopropyl alcohol and lint-free wipes: Removes residue for a flawless finish.
- UV or LED lamp: A must for curing the gel polish layers.
Investing in these tools ensures you’ll be ready for any nail design project.
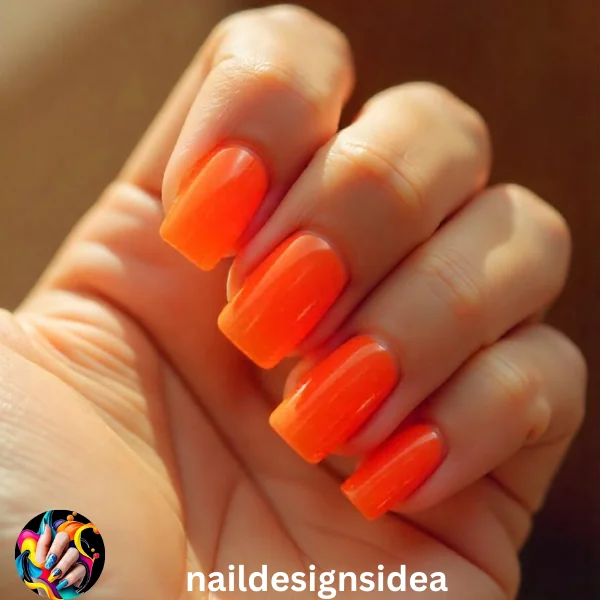
How to Prep Your Nails
Preparation is key to a long-lasting gel manicure. Follow these steps:
- Clean your nails: Remove old polish using acetone-based remover.
- Shape and file: Trim your nails to your desired length and shape. Use a file to smooth edges.
- Buff lightly: Gently buff the nail surface to remove shine. This helps the gel adhere better.
- Push back cuticles: Use a cuticle pusher for a clean nail bed.
- Clean again: Wipe nails with alcohol to remove dust and oil.
Proper prep ensures your gel nails last longer without peeling.
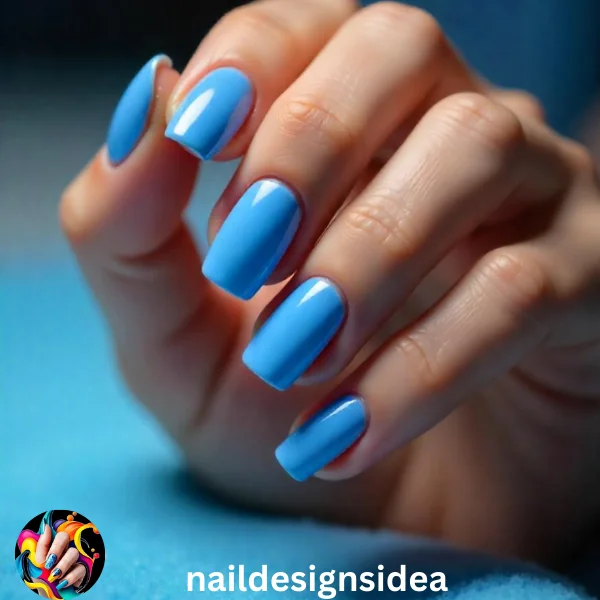
Apply the Base Coat
The base coat is the foundation of your gel manicure. Here’s how to do it:
- Apply a thin, even layer of gel base coat. Be careful not to touch the cuticles or skin.
- Cap the free edge of your nail to prevent chipping.
- Cure under the UV or LED lamp for 30-60 seconds. Ensure every nail is fully cured before moving on.
A good base coat creates a smooth surface for the gel polish.

Choosing the Right Gel Polish
The right gel polish makes all the difference. Popular options include:
- Nude shades: Timeless and elegant.
- Pastels: Perfect for spring and summer.
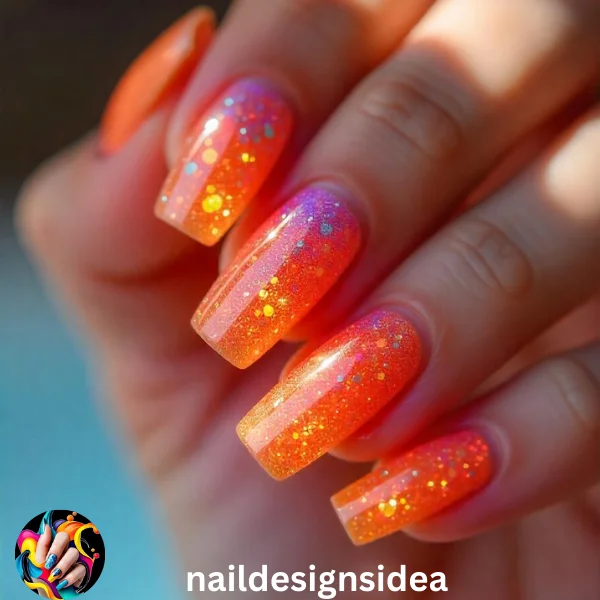
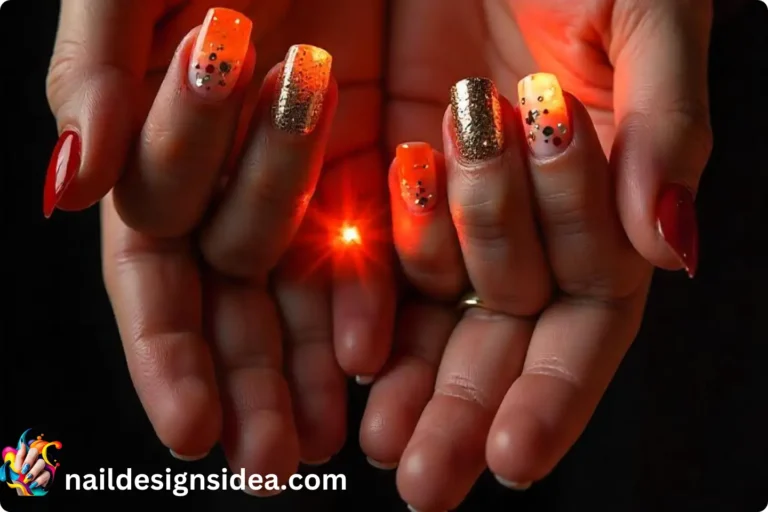
- Glitters: Add sparkle for festive occasions.
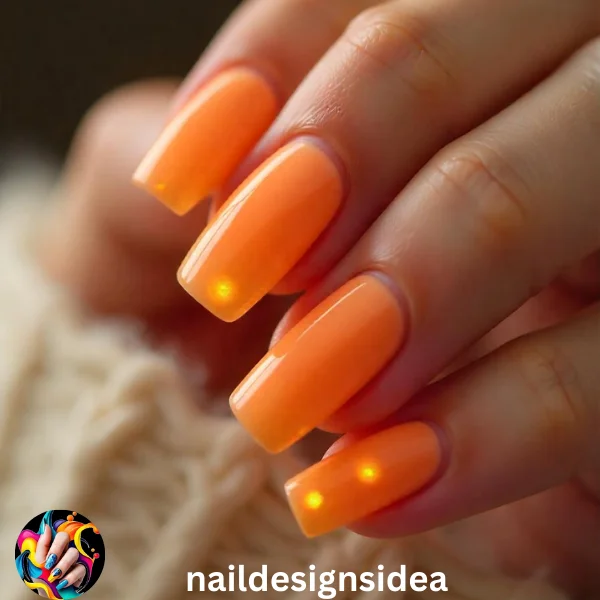
- Bold colors: Reds, blues, and blacks make a statement.
Select colors that reflect your personality or the occasion. Many brands offer collections inspired by seasonal trends.

How to Apply Gel Polish
Application is key to achieving a flawless look:
- Apply a thin layer of gel polish starting from the center of your nail. Use smooth, even strokes.
- Avoid the cuticles and edges. Thin coats prevent bubbling or unevenness.
- Cure under the lamp for 30-60 seconds. Repeat for a second coat if needed for full opacity.
Take your time to ensure neat application. Precision here leads to professional-looking results.

Seal with a Top Coat
A top coat locks in your color and adds a high-shine finish. Follow these steps:
- Apply a thin layer of gel top coat over your polish.
- Cap the free edge for added durability.
- Cure under the lamp until fully set.
The top coat is essential for protecting your manicure from chips and scratches.
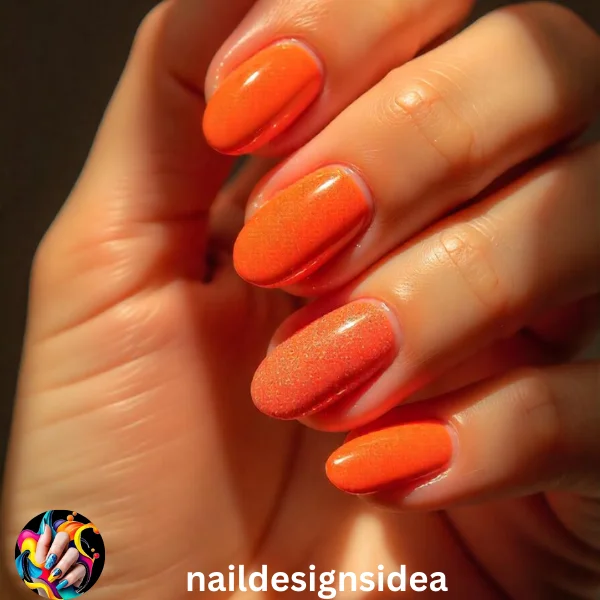
Curing Tips for Beginners
If you’re new to gel nails, curing can be tricky. Here are some tips:
- Check your lamp’s instructions for curing times. Most require 30-60 seconds per layer.
- Cure one hand at a time to prevent smudging.
- Ensure the lamp covers all nails evenly. Adjust hand placement if necessary.
Proper curing is crucial for a long-lasting manicure.

Using Glitter Gel Polish
Adding glitter to your nails makes them stand out. Here’s how:
- Apply a thin base layer of glitter polish.
- Use a sponge to dab additional glitter onto the nail for a denser effect.
- Seal with a top coat to enhance shine and hold the glitter in place.
Glitter nails are perfect for parties or special events.

French Gel Nails at Home
French tips are a classic look you can achieve with gel polish:
- Apply a neutral or sheer pink base color.
- Use white gel polish for the tips. A fine brush helps achieve clean edges.
- Cure each layer under the lamp, and finish with a glossy top coat.
French nails are elegant and suitable for any occasion.

Nail Art Ideas for Gel Nails
Get creative with nail art! Try these ideas:
- Floral designs: Perfect for spring.
- Ombré gradients: Blend two or more colors for a chic look.
- Geometric patterns: Use tape or stencils for clean lines.
Nail art adds a personal touch to your manicure and makes it unique.
How to Maintain Gel Nails
Follow these tips to keep your gel manicure looking fresh:
- Wear gloves for household chores.
- Avoid picking or peeling at the edges.
- Apply cuticle oil daily to hydrate your nails and skin.
Proper maintenance helps extend the life of your manicure.
Removing Gel Nails Safely
To prevent damage, remove gel nails carefully:
- Soak cotton balls in acetone.
- Place them on your nails and wrap with foil.
- Wait 10-15 minutes, then gently push off the gel using an orange stick.
Never peel gel polish, as it can weaken your natural nails.
Common Mistakes to Avoid
Avoid these errors for a flawless finish:
- Applying thick layers of polish.
- Skipping the base or top coat.
- Not curing properly between layers.
Attention to detail makes a big difference in the final result.
Benefits of Gel Nails
Gel nails offer several advantages:
- Long-lasting and chip-resistant.
- High-shine finish that stays glossy for weeks.
- Versatile styles and colors to match any outfit.
They’re perfect for busy schedules and special occasions.
Conclusion
Learning how to do gel nails at home is a game-changer. With the right tools and practice, you’ll achieve salon-quality nails every time. Experiment with colors, designs, and techniques to find your signature style. Happy polishing!
Read more about Little mermaid nail designs

