Dry Manicure, A New Paradigm for Nail Art
Embrace the Trend, Elevate Your Nail Game with a Dry Manicure
In nail art, the dry manicure is taking the world by storm. Unlike standard manicures, the dry manicure eliminates the need for hands to be soaked in water. This contemporary method guarantees a longer-lasting polish and healthier nails. Whether you want a sophisticated design or a more traditional style, learning how to do a dry manicure will provide salon-quality results without all the work.
This post will cover every aspect of dry manicures, including how they operate, their advantages, stylish nail designs that complement them, and advice on honing your skills at home.
What is a Dry Manicure?
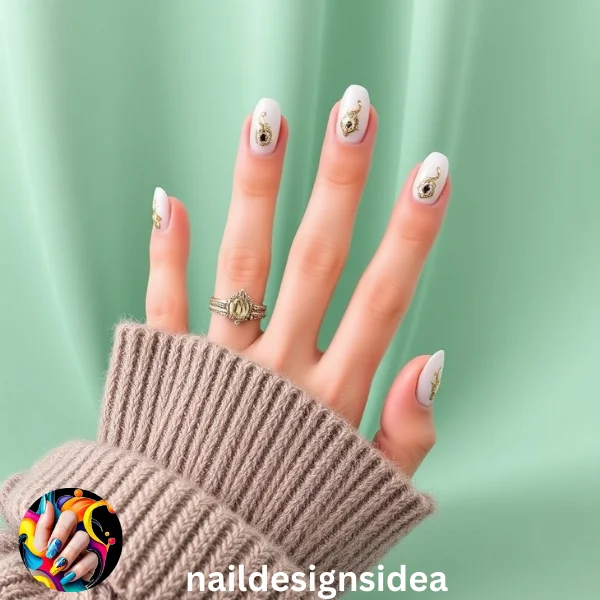
Prepping your nails without using water to soften the cuticles is known as a “dry manicure.” Instead, cuticle oil, electric files, and nail buffers are used to shape and groom the nails. Removing water retains the natural oils in your nails, improving the adhesion and extending the life of the polish.
This technique is especially well-liked for gel manicures because water absorption might obstruct the gel polish’s bonding process. These are becoming increasingly popular among nail artists and enthusiasts since they are quicker, cleaner, and better for nails.
Advantages of a Dry manicure
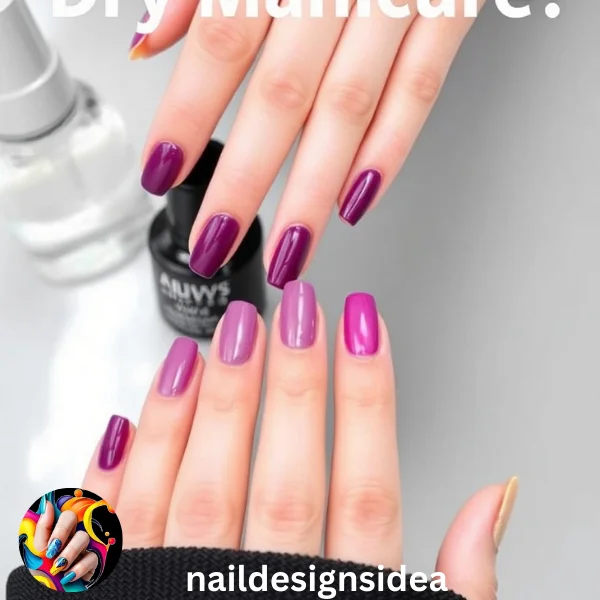
Nail health is one of the primary benefits of a dry manicure. When nails are kept out of the water, they retain their natural oils and strength, which prevents them from breaking easily. These are also more hygienic because there is less danger of bacterial or fungal diseases when no water is present.
It also allows for more smoothly applying gel, acrylic, or nail paint, producing a neater finish. Polish sticks better and doesn’t chip as quickly, ideal for people with hectic schedules who prefer low-maintenance nails. It also lessens the chance of lifting, particularly with gel nails, so your manicure lasts for several weeks.
What Sets Dry Manicures Apart from Traditional Manicures
The soaking stage is eliminated, a significant distinction between a standard manicure and a dry one. Warm water is usually soaked into the hands during a traditional manicure to soften the cuticles. On the other hand, this may cause the nails to inflate and shrink when they dry, leading to polish chipping or lifting sooner.
The goal of the dry manicure, on the other hand, is to preserve the nails’ natural state. Cuticle oils and light exfoliating tools are used instead of water to push back cuticles and form nails. This method is advantageous for gel polish and nail extensions, in particular, since it avoids problems with water absorption.
Designs for Your Nails That Go Well with Dry Manicures
Simple Nail Art
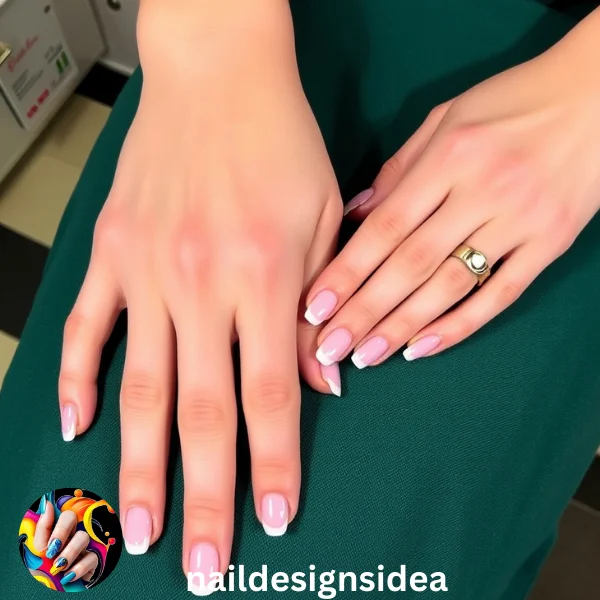
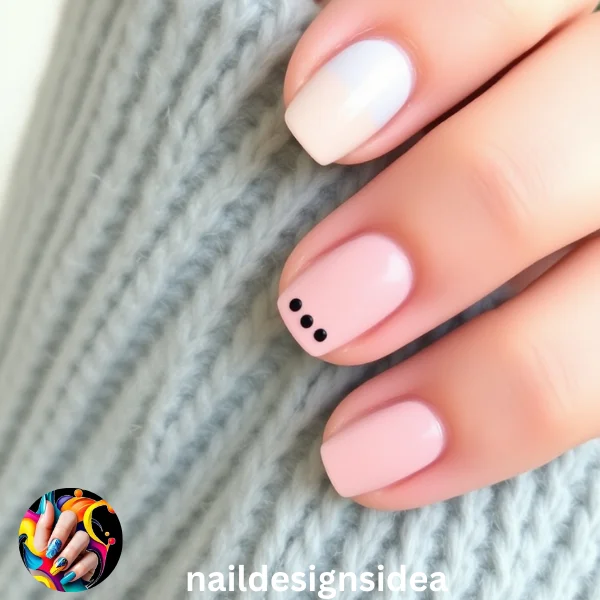
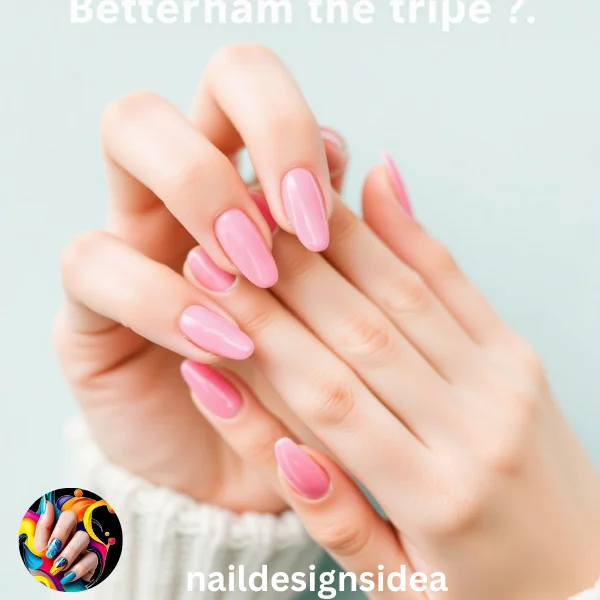
These manicures are perfect for minimalist designs because they provide an uncluttered foundation. When placed over a well-prepped manicure surface, simple nail art designs like stripes, dots, or negative spaces look clean and precise. Pastel pink, nude, and baby blue are examples of light colours that can accentuate a dry manicure’s inherent beauty.
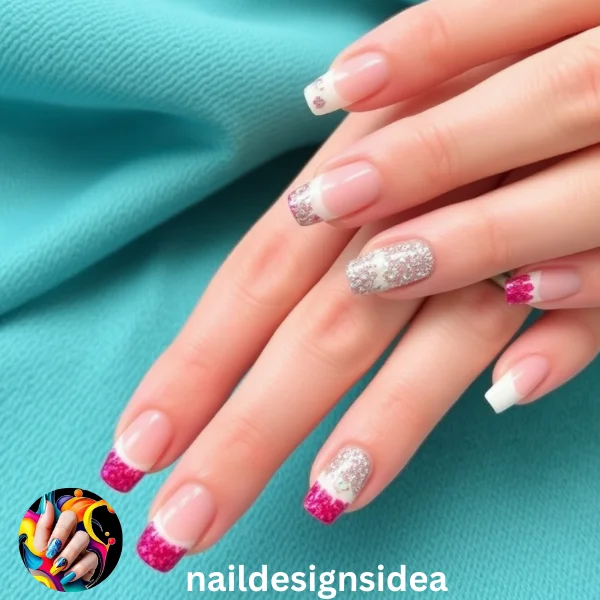
Tips for French with a Twist
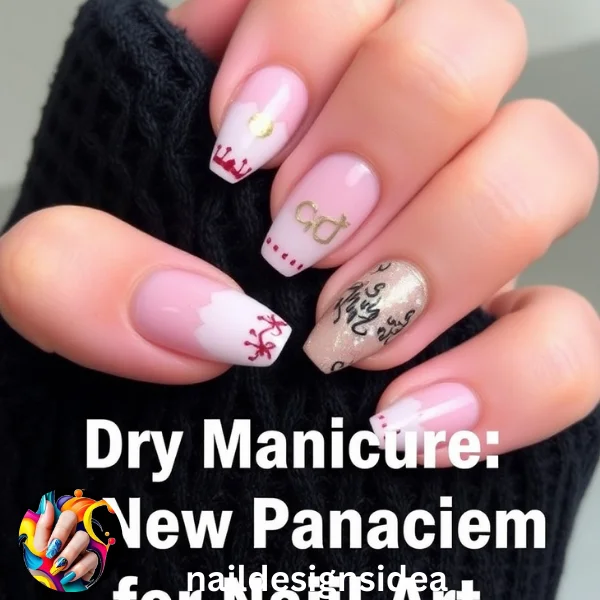
Traditional Although French tips are classic, you can experiment with more contemporary variations, including ombre tips, coloured French tips, or glitter accents, with a dry manicure. Designs like these don’t fade over several days because the polish lasts longer when done dry.
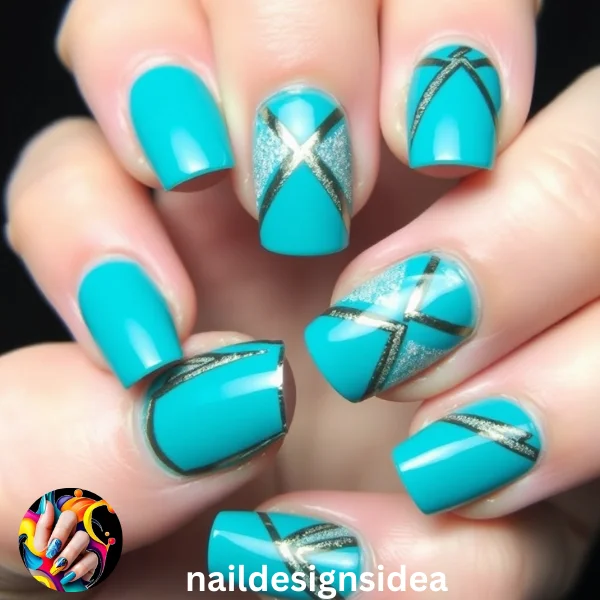
Abstract and Geometric Designs
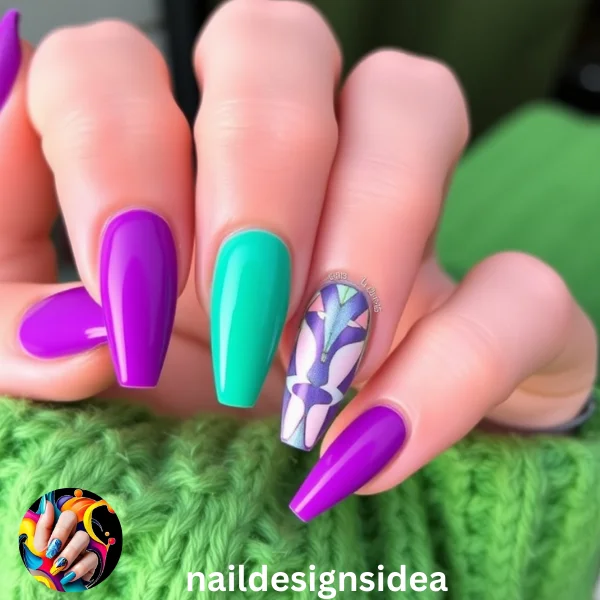
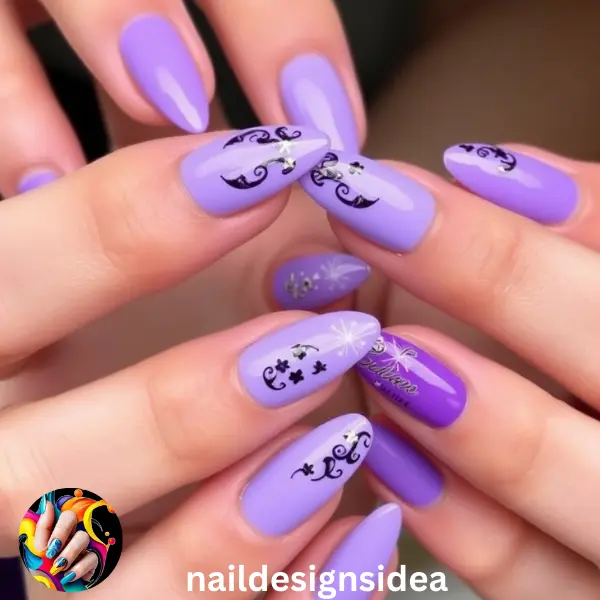
Crisp, clean lines are necessary for geometric or abstract nail art. A dry manicure is the ideal surface for intricate patterns like triangles, chevrons, or swirls. Metal accents, such as silver or gold, can refine the style and lend it an air of sophistication.
How to Perform a DIY Dry Manicure
A few essential equipment make it simple to accomplish a DIY dry manicure. For the ideal at-home manicure, adhere to the following guidelines:
- Wash your hands well and remove any leftover polish from your nails.
- Form your nails: Whether you want them almond, square, or round, use a nail file to create the desired edge form.
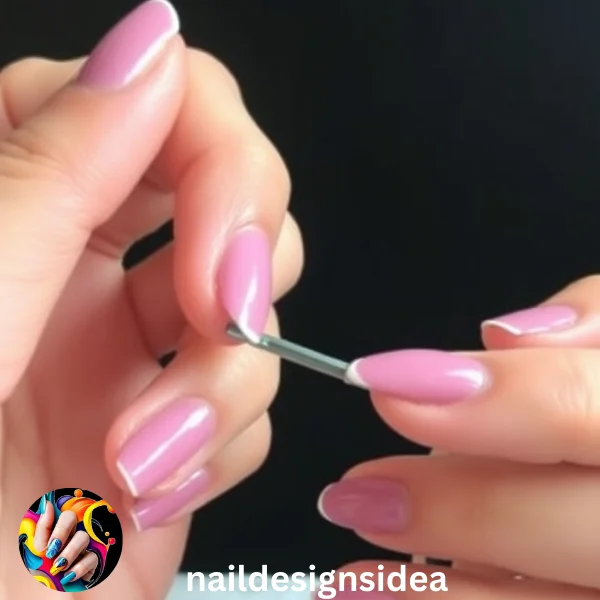
- Apply cuticle oil and gently press your cuticles with a pusher to push them back.
- Buff the surface: Use a buffer to make the nail surface smooth and free of ridges.
- Put on nail art or polish: Apply a base coat first, then the colour or pattern of your choice.
- Apply a final coat of sealant to ensure your pattern is secure and add luster.
By following these instructions, you may have solid and long-lasting nails from the comfort of your home.
Why a Dry Manicure Extends the Life of Gel and Acrylic Nails
It works wonders for gel and acrylic nails because water impedes bonding. After absorbing water, nails expand and then contract to their original size, which can cause gel or acrylic layers to peel. It resolves this problem by guaranteeing a solid adhesion between the product and the nail.
Furthermore, the oil-based cuticle treatment during a dry manicure keeps the nails from drying out and breaking. This lessens the possibility of chips or cracks, which is especially helpful for people who use acrylic extensions.
Essential Tools for a Perfect Dry Manicure
The correct tools are necessary for a perfect dry manicure. Here are a few essentials:
- To shape your nails, use a nail file.
- Oil for cuticles: To hydrate and smooth the cuticles.
- Buffer block: To even out the surface of the nails.
- A tool for gently pushing back cuticles is a cuticle pusher.
- Base coat and top coat: To prolong the life of polish.
- Brushes for nail art: For drawing detailed patterns.
- You won’t need water with these tools to get salon-caliber results at home.
Common Errors in Dry Manicures to Avoid
Despite the relative simplicity of a dry manicure, there are a few frequent faults to steer clear of:
Ignoring the base coat: Always apply a base coat to prevent stains on your nails.
Not moisturizing: Keep your cuticles moistened with oil to prevent dryness and peeling.
Applying thick coats of polish: Use thin, even coatings for a smoother application.
Ignoring nail prep: Give your nails time to be shaped and buff for a polished look.
Omitting the final coat: Adding a top coat keeps chips from happening while also adding shine.
By avoiding these blunders, you can ensure your dry manicure stays gorgeous and lasts longer.
When Is a Dry Manicure Better Than a Traditional One?
A dry manicure is an excellent option for applying gel polish or wanting a longer manicure. Because it prevents exposure to water, which can further damage nails, it’s also perfect for people with brittle or thin nails. Furthermore, because a dry manicure reduces the chance of infection, it’s a safer choice if cleanliness is a concern.
Conclusion
A dry manicure is an easier and more efficient way to take care of your nails. Regardless of your preference for striking patterns, simple artwork, or traditional French tips, this method offers the ideal base for immaculate nails. With so many advantages—including longer-lasting paint, better nail health, and a lower chance of infection—it’s no surprise that nail fans are starting to favour dry manicures.
Try a dry manicure if you’re sick of chipped polish or brittle nails. You’ll be astounded at the impact that eliminating water may have.
See more about 1. Copper nail ideas 2. Hawaii nail ideas


2 Comments