How to Remove Gel Nails at Home: Step-by-Step Guide to Remove Manicure
Have you ever struggled to remove gel nails without damaging your natural nails? Whether you’re saving time, avoiding a salon trip, or just love DIY nail care, this article is going to be very helpful for you. It includes step by step guides, how to remove gel nails at home, and what are the cheapest tools you can use to remove gel manicure . With the right tools and techniques, you can safely remove gel polish without harming your natural nails. In this guide, I’ll walk you through everything you need to know, step by step.
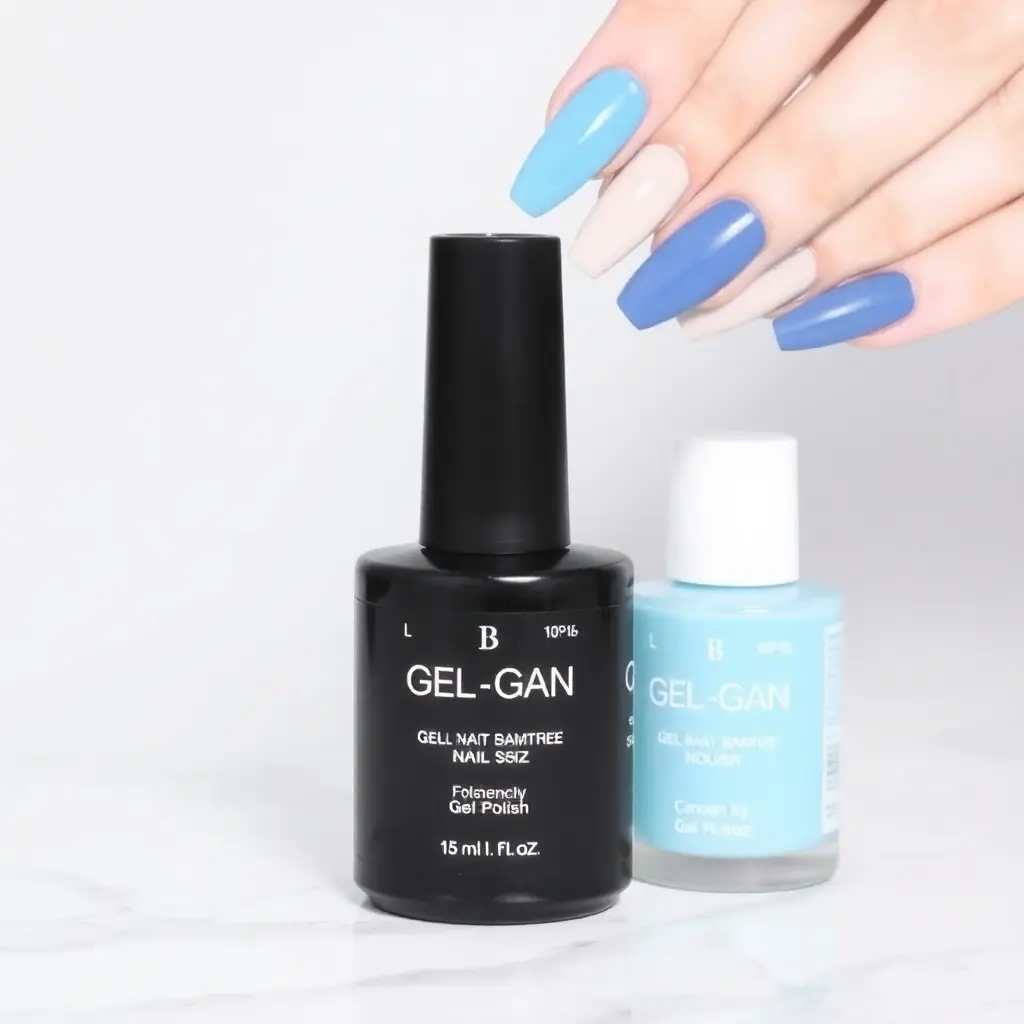
What are the Necessary Tools to Remove Gel Nail Polish
Before starting, gather all the necessary tools. If you have everything in your approach, then the process will be smoother and less stressful . Make a list of all these essentials
- Acetone: Look for 100% pure acetone for the best results.
- Cotton balls or pads: These will soak up the acetone to soften the gel polish.
- Aluminum foil: Used to wrap your nails and keep the acetone in place.
- Nail file: A coarse file to gently buff the top layer of the gel.
- Orange stick or cuticle pusher: To gently scrape off the softened gel polish.
- Cuticle oil: To moisturize your nails and cuticles afterward.
- Bowl of warm water (optional): For an acetone-free alternative.
- Soft towel or cloth: To keep your workspace clean.
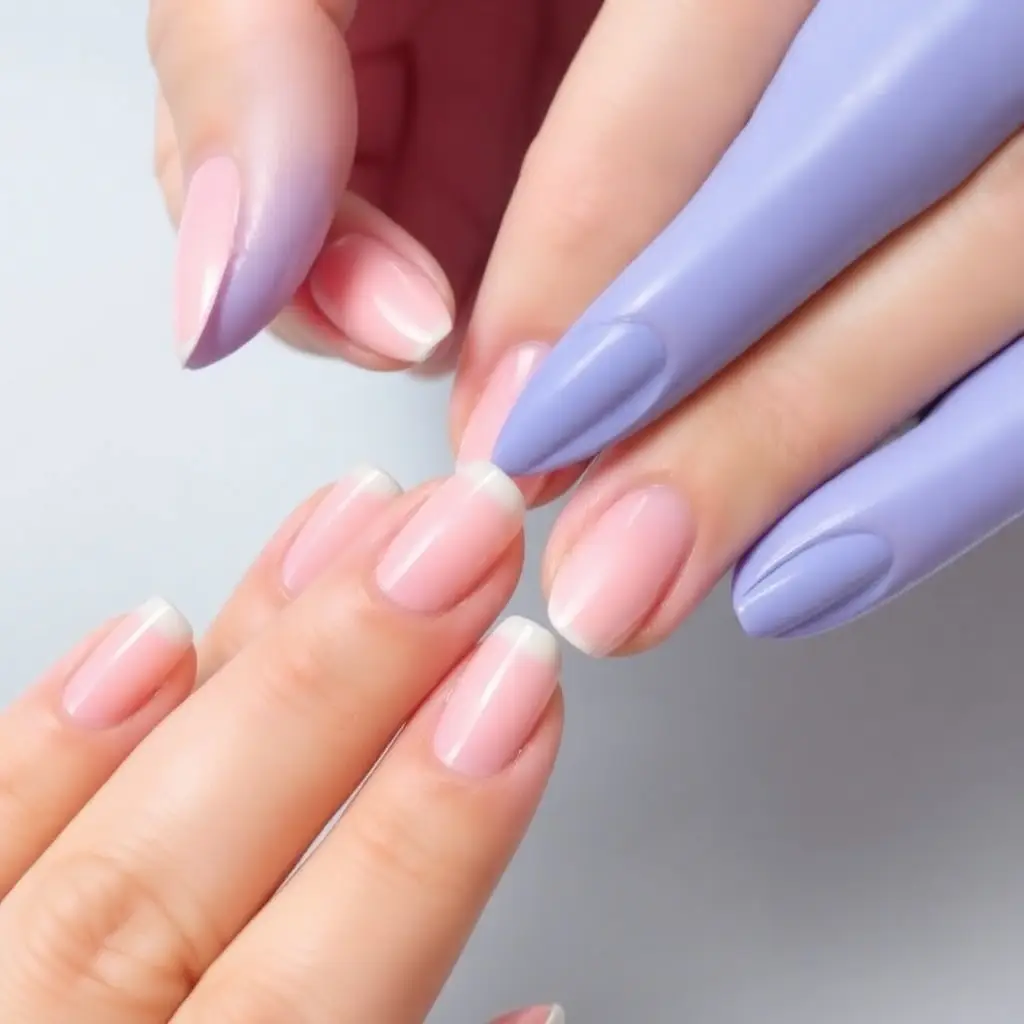
How to Remove Gel Manicure at Home
Follow these simple steps to safely remove your gel polish at home:
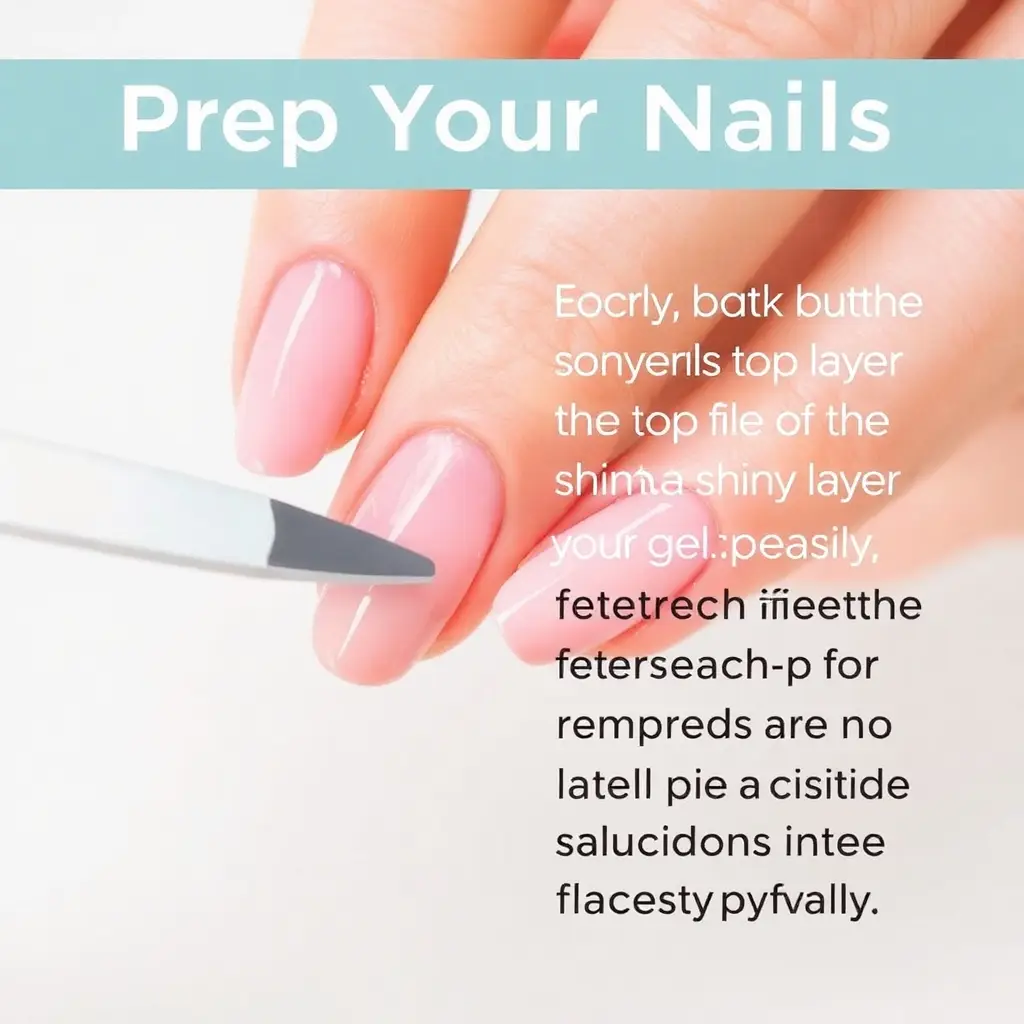
Step 1: Prep Your Nails
Use a nail file to gently buff the shiny top layer of your gel polish. This step helps the acetone penetrate more easily and speeds up the process. If you have removed the top layer, it will assist acetone to dissolve in the gel polish effectively.
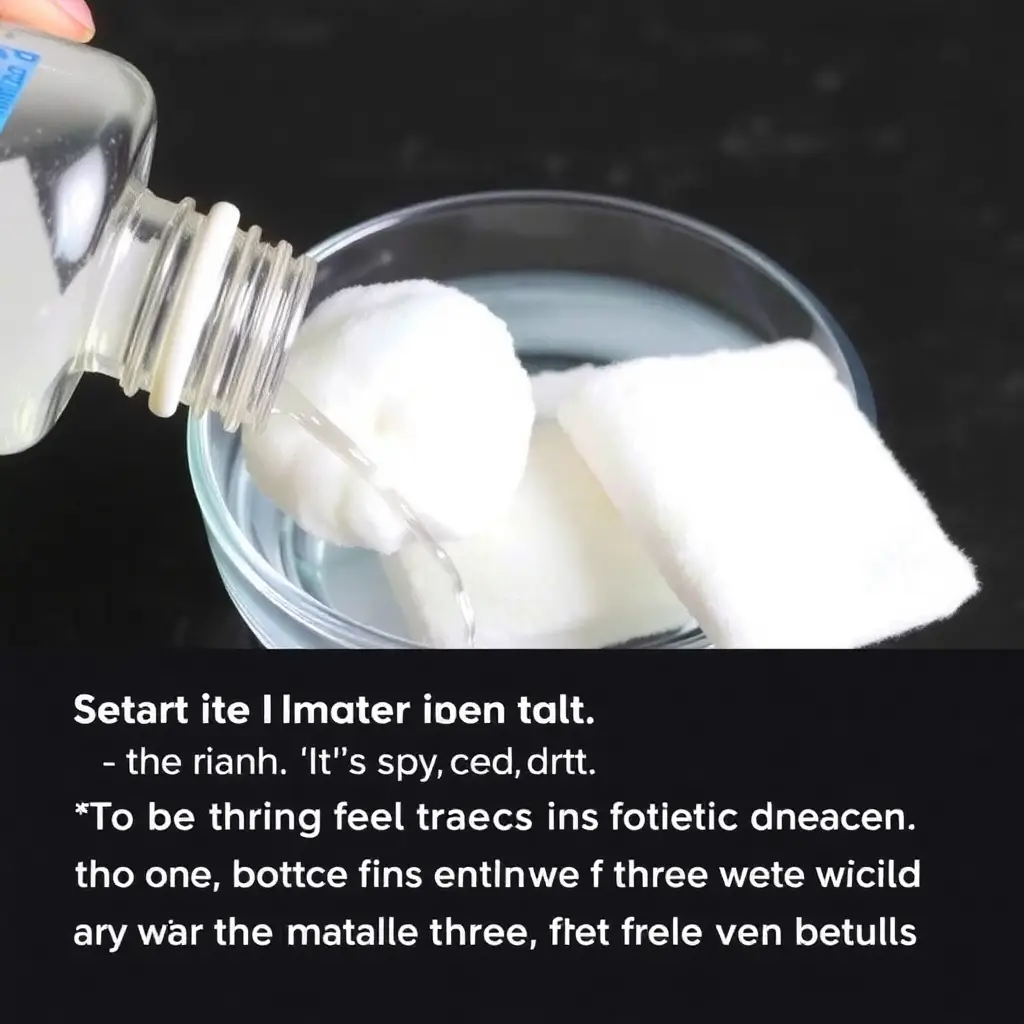
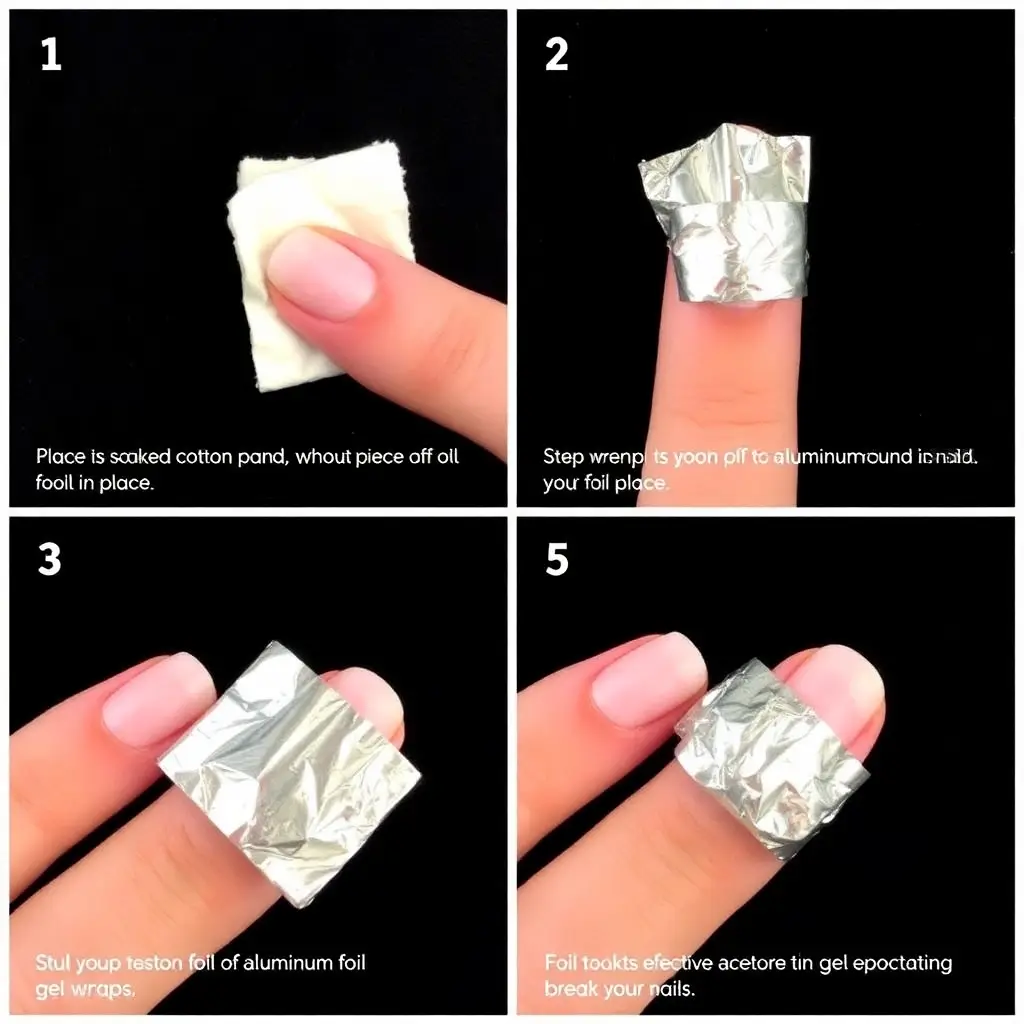
Step 2: Soak the Cotton Pads in Acetone
Soak a cotton ball or pad in acetone until it’s saturated. Avoid using too much acetone to prevent dripping, but ensure the cotton is fully soaked.
Pro Tip: Warm the acetone slightly by placing the bottle in a bowl of warm water for a few minutes. Warm acetone works faster.
Step 3: Wrap Your Nails
Place the soaked cotton pad on your nail, then wrap a small piece of aluminum foil around it to hold the cotton in place. Repeat for all your nails.
The foil traps the heat and prevents the acetone from evaporating. It makes it more effective to break down the gel polish.
See Also
1- How to do Gel Nails at Home 2- How to do Dip Nails at Home 3- Taylor Swift Birthday Manicure
Step 4: Wait for 10-15 Minutes
Set a timer for 10-15 minutes and let the acetone do its magic. Use this time to relax or catch up on your favorite show. Check one nail after 10 minutes to see if the gel polish is lifting. If not, wait an additional 5 minutes.
Step 5: Gently Remove the Gel Polish
Unwrap one nail and use an orange stick or cuticle pusher to gently scrape off the softened gel. If it doesn’t come off easily, reapply the cotton pad and foil for a few more minutes. Never force the gel polish off, as this can damage your natural nails.
Step 6: Buff and Shape Your Nails
Once all the gel polish is removed, use a soft nail file to smooth any rough edges and shape your nails.
Why it helps: This step restores the smoothness of your natural nails after gel removal.
Step 7: Hydrate Your Nails
Apply cuticle oil and massage it into your nails and surrounding skin. Finish with hand cream for added hydration.: After removing gel polish, give your nails a break from polish for a few days to let them recover.
Common Mistakes to Avoid for Removing Gel Nails
Removing gel nails at home can be tricky, so avoid these common pitfalls:
- Skipping the buffing step: Failing to buff the top layer makes it harder for the acetone to work.
- Using regular nail polish remover: Acetone-free removers aren’t strong enough to dissolve gel polish.
- Peeling or picking at the gel polish: This can weaken and damage your natural nails.
- Rushing the process: Be patient! Proper soaking is key to gentle removal.
- Skipping hydration: Acetone can dry out your nails, so always rehydrate them afterward.
Tips for Perfect Gel Nail Removal
- Skipping the buffing step: Failing to buff the top layer makes it harder for the acetone to work.
- Using regular nail polish remover: Acetone-free removers aren’t strong enough to dissolve gel polish.
- Peeling or picking at the gel polish: This can weaken and damage your natural nails.
- Rushing the process: Be patient! Proper soaking is key to gentle removal.
- Skipping hydration: Acetone can dry out your nails, so always rehydrate them afterward.

FAQs
1. Can I remove gel nails without acetone?
Yes, you can use alternatives like soaking your nails in warm water with dish soap and a teaspoon of salt. However, this method is less effective and requires more patience.
2. How long does it take to remove gel nails at home?
The entire process takes about 20-30 minutes. It entirely depends on how long you need to soak your nails and how easily the polish lifts off.
3. What’s the best acetone for gel nail removal?
100% pure acetone is the most effective for dissolving gel polish. Look for it at beauty supply stores or online.
4. Will removing gel polish damage my nails?
If done correctly, removing gel polish won’t damage your nails. Avoid peeling or scraping too aggressively to keep your nails healthy.
5. Can I reuse the same cotton pads and foil for all my nails?
It’s best to use fresh cotton and foil for each nail to ensure maximum effectiveness.
Conclusion
Learning how to remove gel nails at home doesn’t have to be intimidating. With the right tools, a little patience, and these step-by-step instructions, you can safely and effectively remove gel polish without damaging your nails.
Ready to give it a try? Share your results or any additional tips in the comments below. And if you have questions, don’t hesitate to ask—we’re here to help!
By following these tips, your nails will stay healthy, strong, and ready for your next fabulous manicure. 💅


