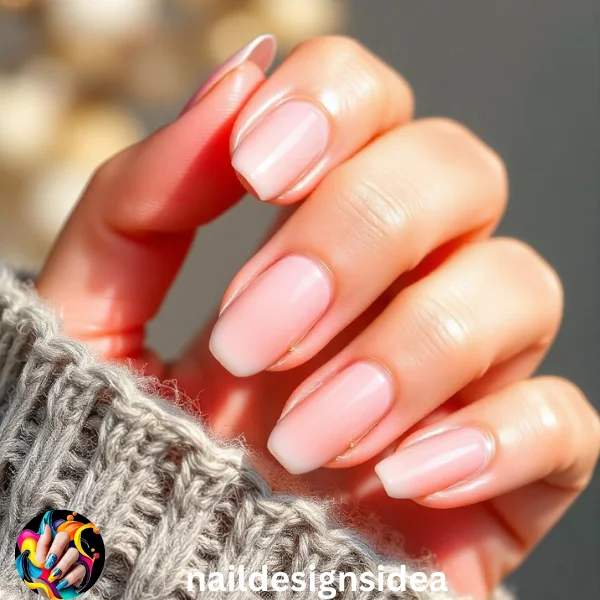
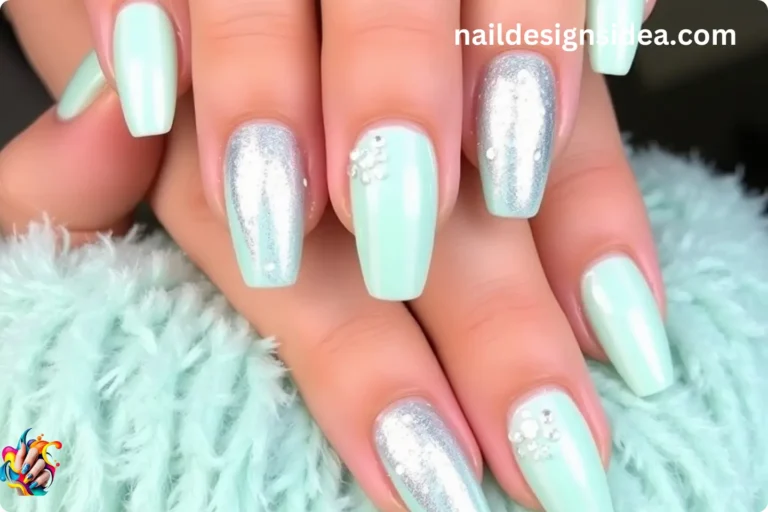
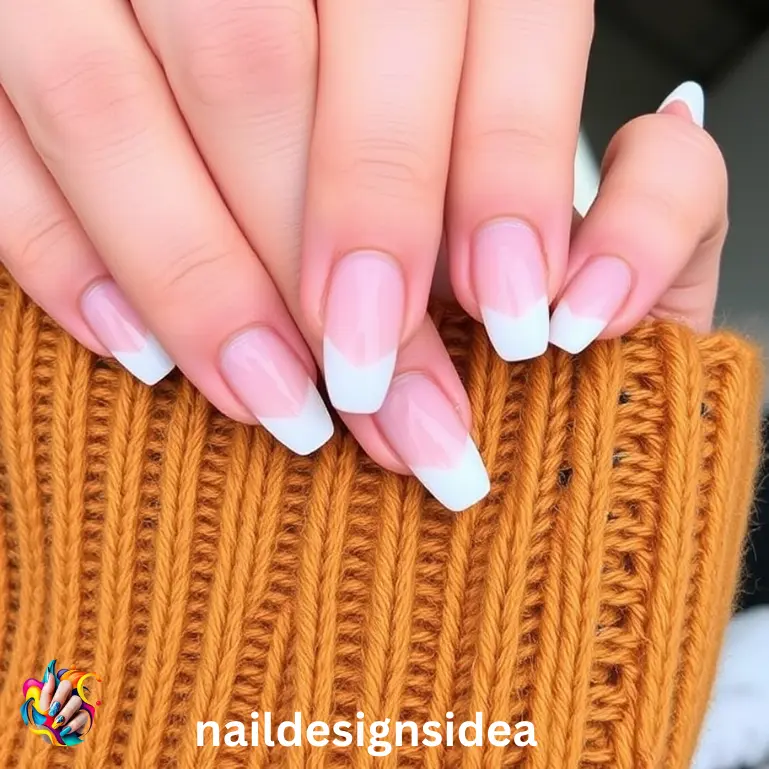
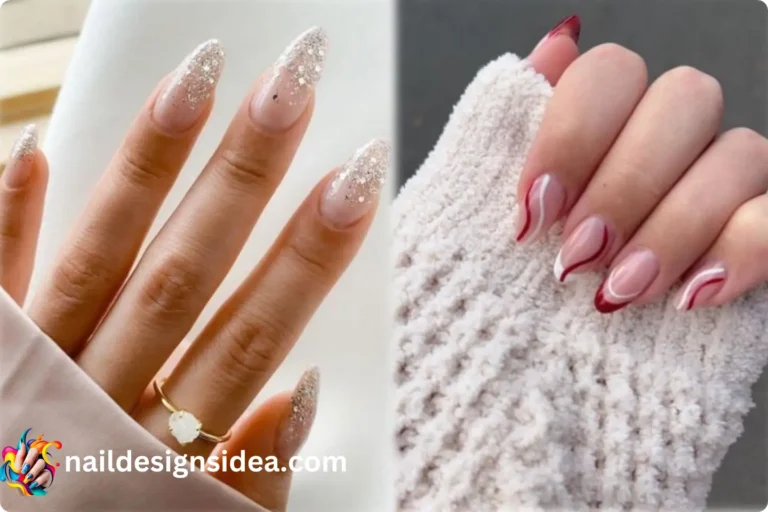
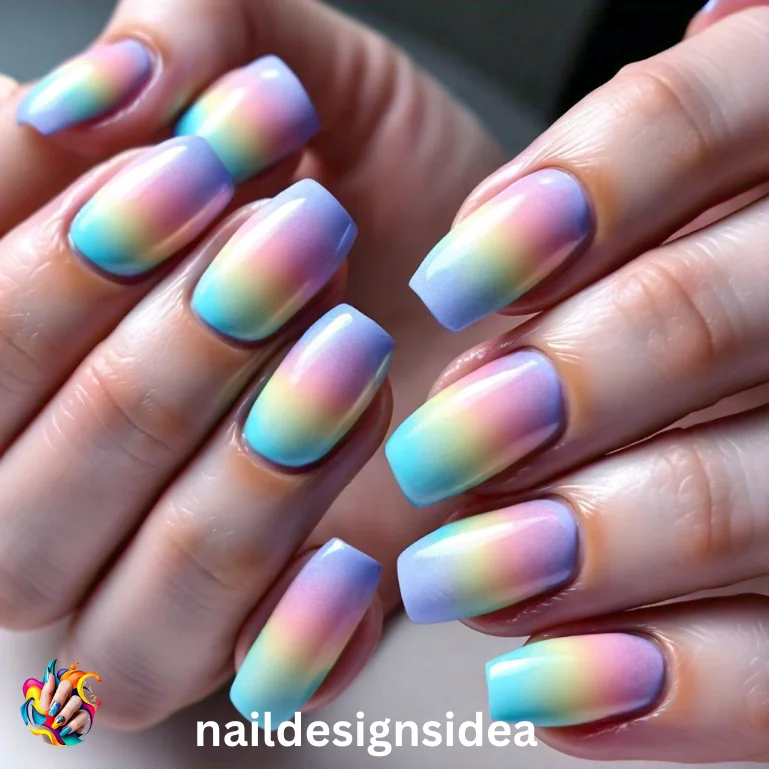
How to Use Builder Gel on Natural Nails
How to Use Builder Gel on Natural Nails, A Complete Guide for Stunning Results
Have you ever wondered how to use builder gel on natural nails for a durable and professional-looking manicure? Builder gel is an incredible product that enhances the strength and appearance of natural nails while offering versatility for creating stylish nail designs. Whether you’re a beginner or a seasoned nail enthusiast, this guide will walk you through the process step by step, helping you achieve flawless nails.
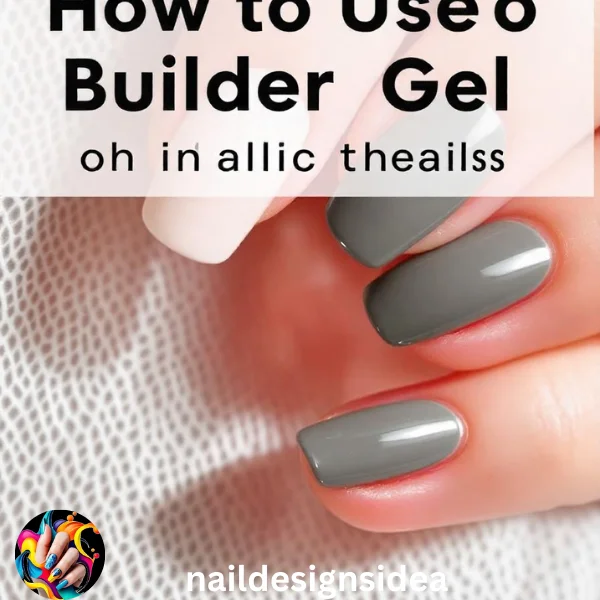
What Is Builder Gel and Why Should You Use It?
Builder gel is a thick gel formula designed to strengthen and shape natural nails. Unlike traditional gel polishes, builder gel is ideal for overlays, adding length, or repairing damaged nails.
Benefits of Using Builder Gel
- Strengthens Natural Nails: Perfect for individuals with brittle or weak nails.
- Long-Lasting Results: A properly applied builder gel can last up to 3-4 weeks without chipping.
- Customizable: Allows you to experiment with shapes and styles while maintaining durability.
What You’ll Need to Get Started
Before learning how to use builder gel on natural nails, gather these essential items:
- Builder gel
- UV/LED lamp
- Nail buffer and file
- Base coat and top coat
- Cuticle pusher
- Lint-free wipes
- Nail cleanser or alcohol wipes
Having the right tools ensures a smooth and effective application process.
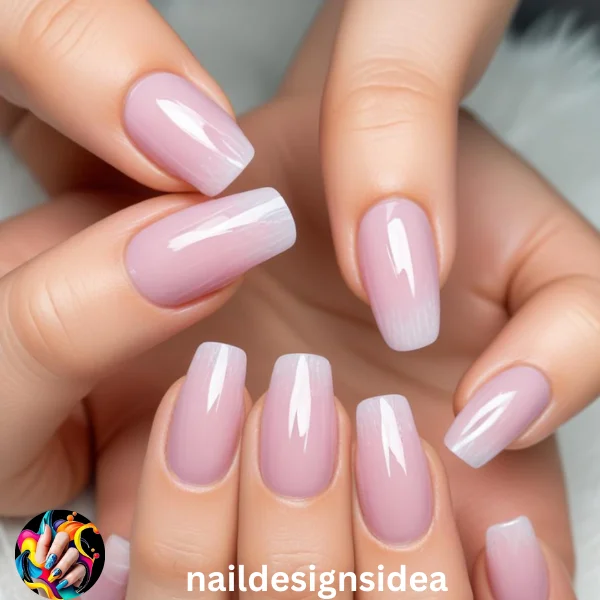
Step-by-Step Guide to Using Builder Gel on Natural Nails
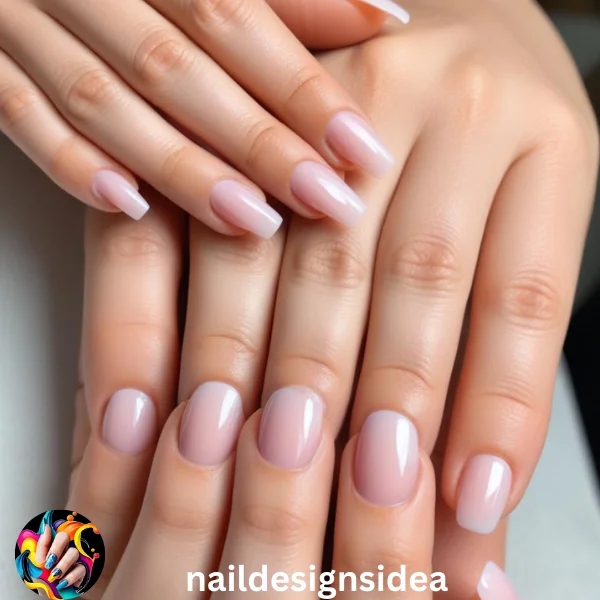
Step 1: Preparing Your Nails
Preparation is crucial for achieving long-lasting results.
- Clean Your Nails: Remove old polish and any oils using alcohol wipes.
- Shape Your Nails: File your nails into your preferred shape.
- Push Back Cuticles: Use a cuticle pusher to clean the nail bed.
- Buff Lightly: Buff the surface to remove shine and ensure adhesion.
Step 2: Apply a Base Coat
A good base coat creates the foundation for builder gel.
- Apply a thin layer of base coat to all nails.
- Cure under a UV/LED lamp for 30–60 seconds.

Step 3: Applying Builder Gel
Here’s where the magic happens.
- Apply the First Layer:
- Start with a thin layer of builder gel, spreading it evenly across the nail.
- Avoid touching the cuticle area to prevent lifting.
- Cure under the lamp for 60 seconds.
- Build the Structure:
- Add a bead of builder gel to the center of your nail and gently spread it outward.
- Flip your hand upside down for a few seconds to let the gel self-level.
- Cure for 60–90 seconds under the lamp.

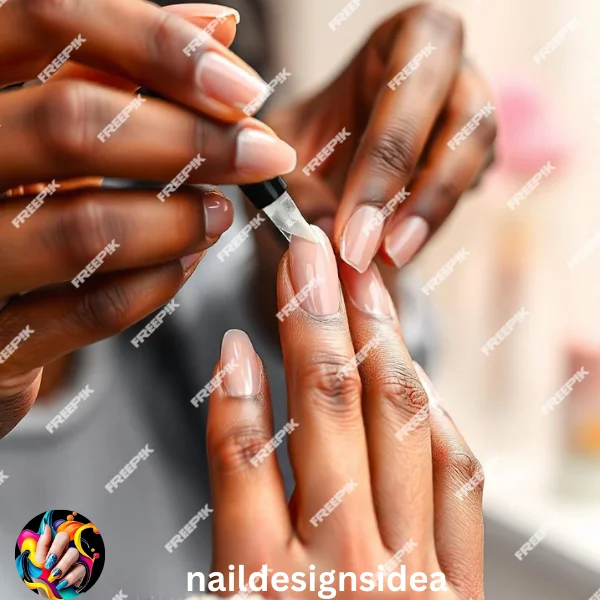
Step 4: Shaping and Refining
Once the builder gel has cured:
- File the edges to refine the nail shape.
- Buff the surface to ensure a smooth and polished finish.
Step 5: Top Coat Application
Seal your work with a top coat.
- Apply a thin layer of top coat to lock in the builder gel.
- Cure under the UV/LED lamp for 60 seconds for a glossy or matte finish.
Step 6: Final Touches
- Use a lint-free wipe with nail cleanser to remove any sticky residue.
- Apply cuticle oil to nourish your cuticles and enhance the overall look.
Congratulations! You’ve successfully learned how to use builder gel on natural nails.
Tips for Perfect Builder Gel Application
- Work with Thin Layers: Thick layers may cause uneven curing.
- Invest in a Quality Lamp: Proper curing is vital for durability.
- Be Patient: Precise application takes time but is worth the effort.
Common Mistakes to Avoid
Skipping Nail Prep
Improperly prepared nails may result in lifting or chipping. Always buff and cleanse your nails before applying builder gel.
Applying Gel Too Thickly
Builder gel should be applied in thin, controlled layers to prevent bubbles and uneven curing.
How Long Does Builder Gel Last?
When applied correctly, builder gel can last up to 4 weeks. However, it’s essential to maintain and refill every 2-3 weeks as your nails grow.
How to Safely Remove Builder Gel
Removing builder gel is just as important as applying it:
- File Down the Bulk: Gently reduce the gel with a nail file.
- Soak with Acetone: Wrap nails in acetone-soaked cotton and foil.
- Gently Remove Gel: Use a wooden stick or pusher to lift the softened gel.
- Hydrate Nails: Apply cuticle oil and hand cream after removal.
Why Choose Builder Gel Over Acrylics?
Builder gel is less damaging, more flexible, and easier to use than acrylics. It provides a natural finish and is perfect for enhancing your nails without compromising their health.
Conclusion
Learning how to use builder gel on natural nails opens up endless possibilities for creating strong, beautiful, and long-lasting nails. With a little patience and practice, you can achieve salon-quality results at home. Whether you’re repairing weak nails or exploring new styles, builder gel is a must-have in your nail care routine.
FAQs
- Can builder gel be used without a UV lamp?
No, builder gel requires a UV or LED lamp to cure and harden effectively. - How do I fix bubbles in builder gel?
Apply thin layers and use the self-leveling technique to minimize bubbles. - Can I apply regular nail polish over builder gel?
Yes, builder gel provides a perfect base for regular polish or nail art. - Is builder gel safe for sensitive nails?
Builder gel is generally safe, but ensure your nails are properly prepped and use a gentle formula if needed. - How often should I refill builder gel?
Refills are recommended every 2-3 weeks to maintain the structure and appearance.

